This post is long overdue but due nonetheless! Finding spare time for projects lately has been few and far between. But the couple that I’ve managed to squeeze in have been nothing but creatively satisfying. Looking forward to sharing a few other DIY projects soon, but to start here’s a little how-to on my chevron headboard!
If you’re anything like me you have a slightly problematic addiction to anything West Elm with a budget that does not have the same enthusiastic capacity. I recently set my sights on the Alexa Reclaimed Wood Bed – my heart was telling me YES, but my mind (and bank account after moving into a new studio) was saying no no no! So I took the ever faithful Home Depot to create my own custom rendition.
Supplies Needed:
- Wood Planks – (I used 1×4″ salvaged Alder)
- 2- 2×4″ Wood Planks
- Plywood Board
- Wood Edging
- Wood Stain – (I used Minwax)
- Clear Sealant
- Wood Glue
- Nail Gun & Nails
- Miter Saw/Skill Saw
How To:
Start with a sheet of plywood for your desired size matching your bed. My bed is a Queen, and since I wanted it a bit taller I made it about 62″x 39″. Next find the center of your plywood and draw a line down the center (dividing your board in 1/2). Take your wood planks, cut down longer than the size from the center line over the edge of your plywood. Each wood piece should be cut down at a 45 degree angle & lined up on the center of your board. I recommend starting from the middle of your plywood and working your way out to the edges. Continue until you’ve filled every inch of your plywood. Once you’ve cut all your pieces down use your miter saw (or skill saw) to trim the edges of you’re 1×4″ boards to match the edge of your plywood. (See image below)


This is most certainly the longest part! Once the steps above are complete use your glue & nail gun to secure the wood planks onto the plywood. Don’t be shy! You want to make sure all your planks stay in place. After you’ve secured your boards it’s time to get out the wood stain! This is where you get to be creative! I love to use wood stain because it brings out the natural elements in each piece of wood. Depending on your style, each stain can bring an added warmth and variation to your space. I decided to go a bit on the darker side, I used Minwax Provincial on the whole base, and Minwax Ebony on the corner edges. Using this combination gave the wood a bit of a dark ombre look.

Make sure to use the same stain for your edging pieces as well. Once the stain is dry, wrap your edging around the wood and use your nail gun and glue to secure it again. Get excited you’re almost done! After the main part of your headboard is done secure your 2×4″ planks on the back to allow it a base to stand on. I measured the frame of my bed where the attachment pieces are and spaced the planks to match. This way I’d be able to line up and secure the headboard directly to the bed.

And that’s it! As long as you have the tools, your all in price is only the cost of your wood and stain.
Stay tuned for more wood patterned projects coming soon!
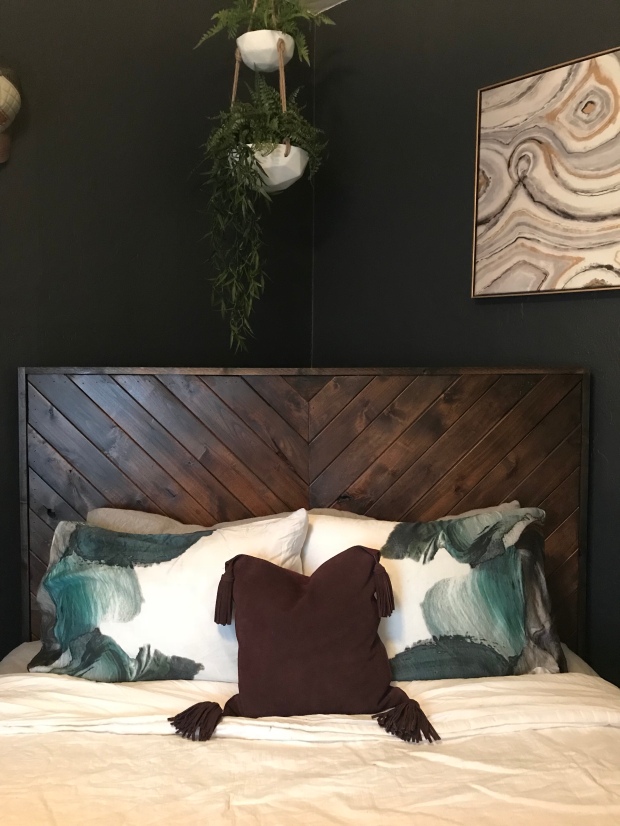
(I shortly changed my wall color after the above picture was taken – the below walls use Behr- Cracked Pepper paint!)